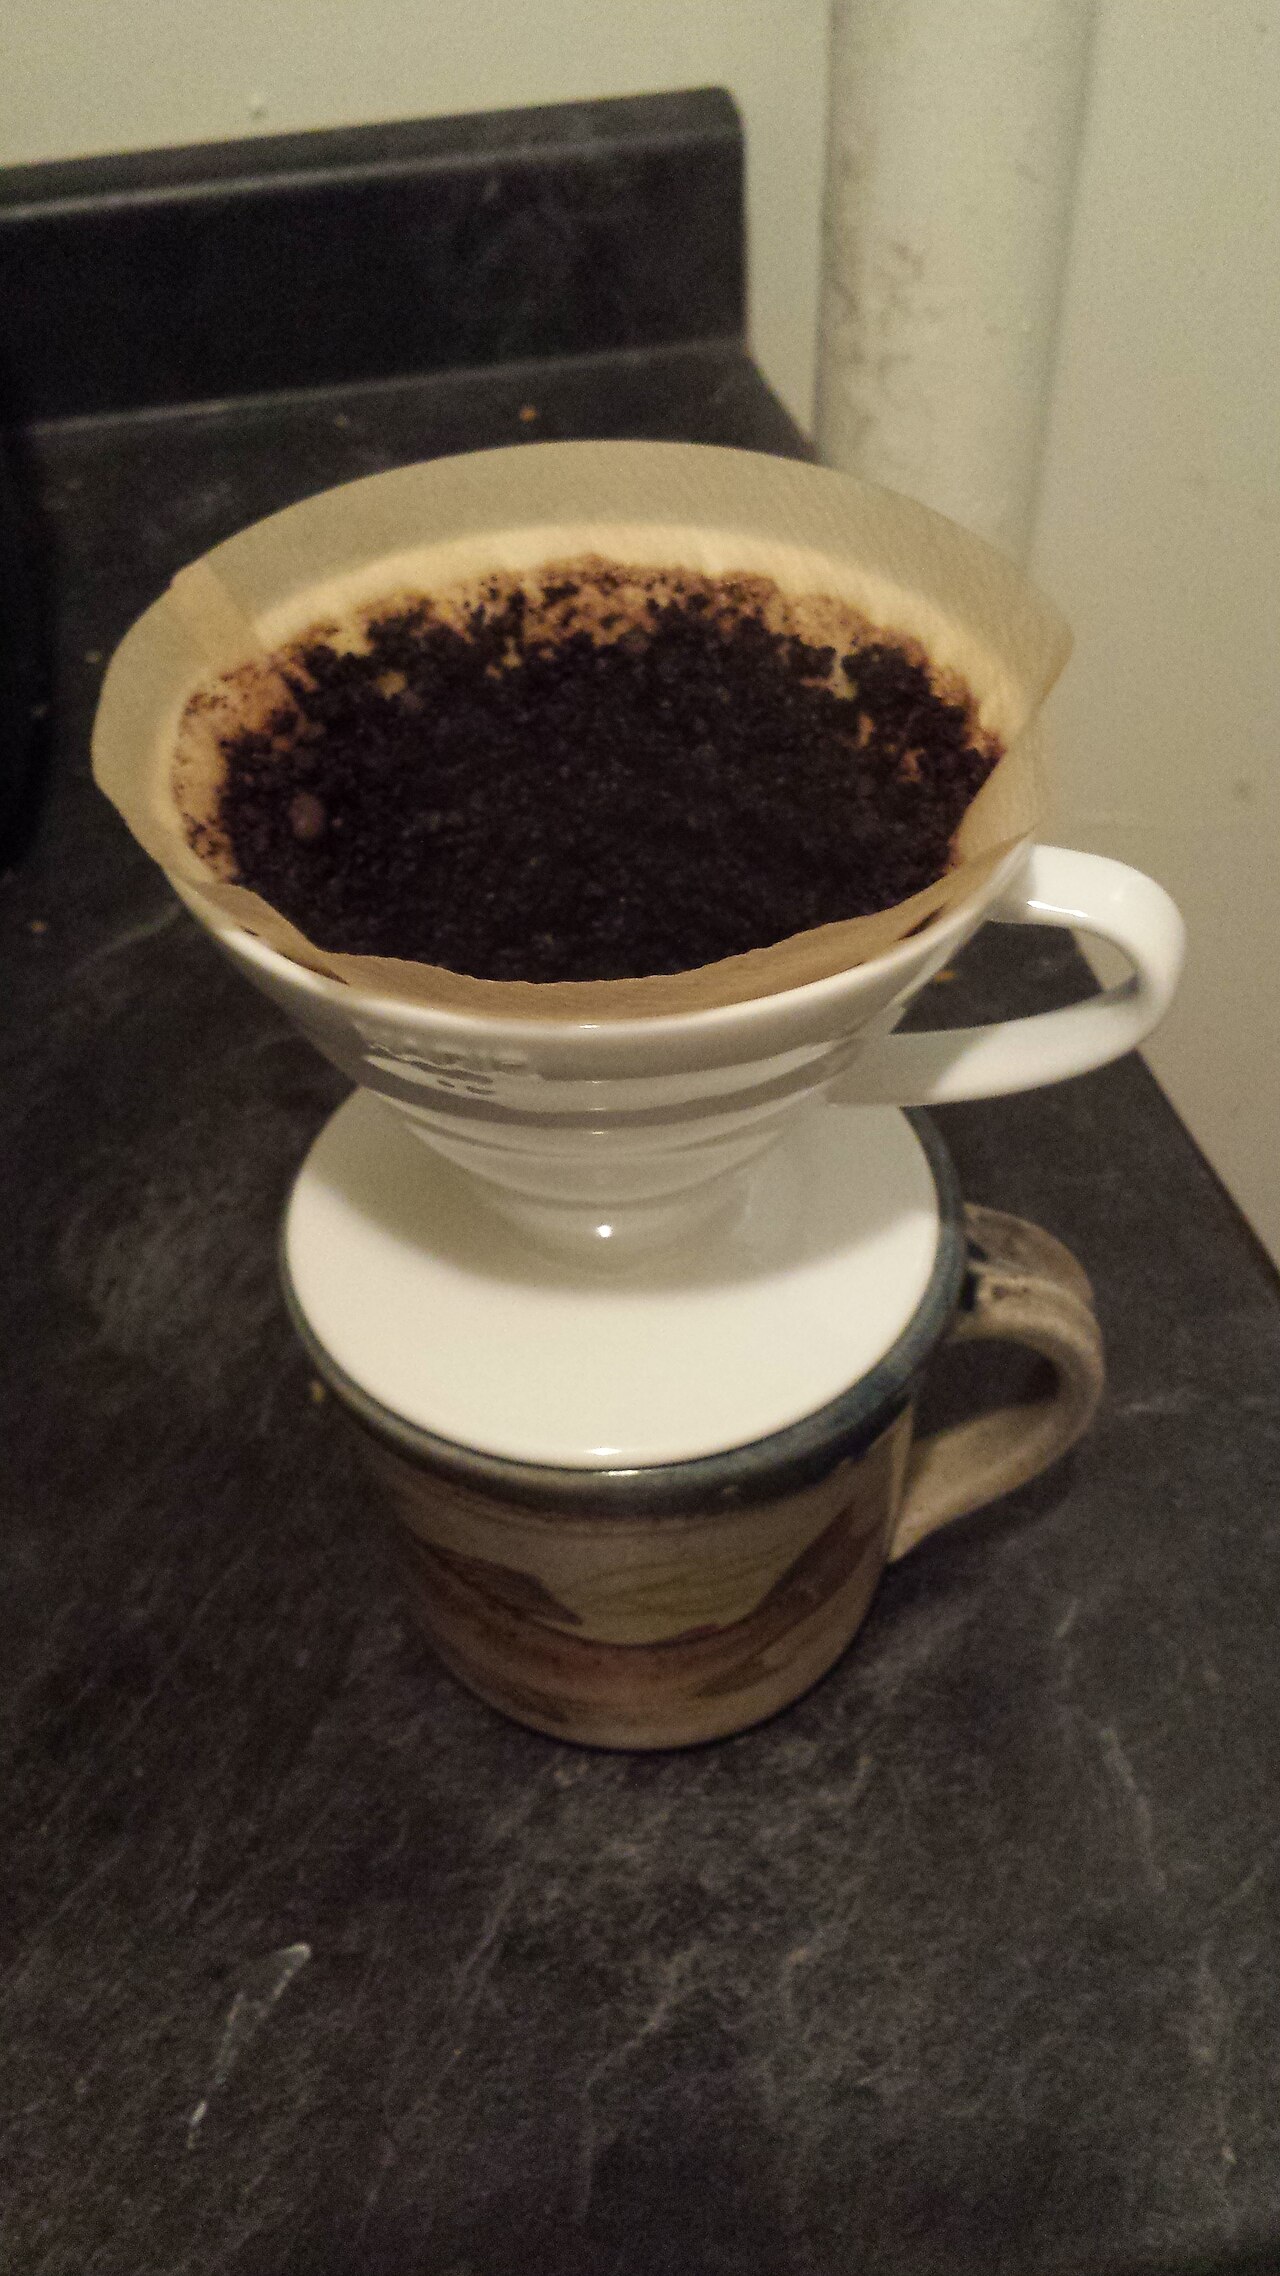
Pour-over has a reputation for being fussy — the domain of bearded baristas with stopwatches. The truth is friendlier: a complete beginner setup costs less than a mid-range automatic drip machine, the technique takes one weekend to learn, and the payoff is a cup with a clarity and sweetness that drip machines struggle to match. This guide covers the four pieces of the setup, what each one actually does, the order to buy them in so you never waste money, and a starter recipe that works on day one.
Brew Dialed is reader-supported. When you buy through links on our site, we may earn an affiliate commission.
Last updated: October 7, 2026. Prices and availability checked October 2026.
The four pieces of a pour-over setup
A pour-over setup is four tools, each with one job. The dripper holds the filter and grounds and controls how water flows through the coffee bed. The kettle — ideally a gooseneck — delivers water slowly and precisely where you aim it. The grinder produces fresh, evenly sized grounds, which matters more than any other variable. The scale measures coffee and water so your recipe is repeatable instead of a daily guess.
Total cost for a genuinely good beginner setup: roughly $80–$150 if you buy smart — a $25 dripper, a $40–$60 kettle, a $40–$80 hand grinder, and a $15–$25 scale. That is less than most drip machines, and every piece upgrades independently: when you outgrow one component, you replace that component, not the whole setup.
Start with the dripper: the shape decides the forgiveness
Drippers come in two geometries, and the choice matters more than the brand. Cone drippers (the V60 style) have a single large drain hole — water flows fast, and you control the brew with your pouring technique. They can produce a brilliant, nuanced cup, but they punish sloppy pouring and uneven grinds. Flat-bottom drippers (the Kalita Wave style) have a restricted drain with multiple small holes — the bed depth stays consistent and the dripper forgives imperfect technique. For a beginner, flat-bottom is the safer first dripper; switch to a cone later when your pouring is dialed in and you want to chase nuance.
Material matters less than geometry, with one exception: plastic drippers are cheap, nearly indestructible, and — importantly — they do not steal heat from the brew the way a cold ceramic dripper does. A $10 plastic dripper brews as well as a $40 ceramic one once preheated; the ceramic one just looks better on the counter. Size 02 (the 1–4 cup size) is the standard beginner pick — the smaller size 01 is for single small cups and is fussier to pour.
Buy filters made for your dripper — they are not interchangeable between cone and flat-bottom shapes. Paper filters produce the clean, sweet cup pour-over is known for; rinse the filter with hot water before brewing to wash out paper taste and preheat the dripper in one step. See our pour-over dripper guide for the full comparison.
The kettle question: why the gooseneck matters
A gooseneck kettle's thin, curved spout restricts flow to a slow, controllable stream — which is the entire technique of pour-over. Try pouring a slow spiral with a regular stovetop kettle and you will dump half the water in one spot, over-extracting the center and under-extracting the edges. The gooseneck turns "pour slowly in circles" from an aspiration into something your hand can actually do.
Stovetop vs. electric: a stovetop gooseneck is cheaper ($30–$50) and works fine — heat water in it, wait roughly a minute off boil, and pour. An electric gooseneck with temperature control ($60–$120) holds your exact target temperature and reheats between pours, which removes a variable beginners otherwise guess at. It is the single most worthwhile upgrade in the setup, but it is not required on day one.
Temperature: 195–205°F (90–96°C) is the target window, with most beginners landing around 200–205°F. Darker roasts do better at the cooler end; light roasts want the hotter end. If you are using a stovetop kettle without a thermometer, boiling then resting one minute gets you close enough to start.
Grinder and scale: the real upgrade path
Here is the uncomfortable truth of pour-over: the grinder matters more than the dripper. Uneven grounds — a mix of boulders and dust — brew unevenly no matter how perfect your pouring is: the dust over-extracts bitter while the boulders under-extract sour, in the same cup. A decent burr grinder, even a $40–$60 hand grinder, produces dramatically more even grounds than a blade grinder or pre-ground coffee. If your budget forces a choice, spend on the grinder before the kettle.
The scale is the cheapest meaningful upgrade in coffee: 0.1 g resolution with a timer, $15–$25. Scoops lie — two scoops of a light roast can weigh 30% less than two scoops of a dark roast — and without a scale you cannot tell whether today's better cup was the grind, the ratio, or luck. The built-in timer matters because brew time is part of the recipe. Weighing the water as you pour also teaches you what a proper pour rate feels like, faster than any other method.
What to buy first: the order of operations
Buy in this order and you never waste money. First: dripper plus filters. A flat-bottom dripper and a pack of its filters, used with pre-ground coffee and your existing kettle, already makes a better cup than most drip machines — this $20 step proves the method to you. Second: a burr grinder. Fresh, even grounds are the biggest single quality jump in the setup. Third: a gooseneck kettle (stovetop is fine), which unlocks controlled pouring. Fourth: the scale, which makes everything repeatable. Each step improves the cup on its own, and none of them becomes redundant when you add the next.
The complete setup lands around $80–$150 depending on kettle choice. Our budget setup guide covers the same territory from the wallet's perspective, including what to do when the budget is truly tight.
A starter recipe that works on day one
Use this as your baseline, then adjust one variable at a time. Ratio: 15 g coffee to 250 g water (1:16.7) — about 3 tablespoons of whole beans. Grind: medium-fine, like coarse sand. Water: 200–205°F. Method: rinse the filter, add grounds, and pour 50 g of water to saturate everything — the bloom. Wait 45 seconds (the bed will bubble as CO2 escapes). Then pour in slow spirals, keeping the water level steady, until you hit 250 g total. Total brew time: 2:30–3:30.
Taste and diagnose: sour and thin means under-extracted — grind finer or pour slower. Bitter and dry means over-extracted — grind coarser or pour faster. Change one thing per brew and keep notes; within a week you will have a recipe tuned to your beans, your grinder, and your taste. Fresh beans matter enormously here — coffee peaks 4–14 days off roast, so check the roast date and store beans properly per our bean storage guide.
What this guide does not cover
This covers manual pour-over starter setups — not automatic drip machines (see our drip machine guide), not espresso, and not French press or moka pot (compared in our pour-over vs French press guide). It does not cover advanced technique like bypass brewing or multi-pour competition recipes — master the starter recipe first; the advanced methods assume it.
Frequently asked questions
Can I use pre-ground coffee with a pour-over dripper?
Yes — a dripper with pre-ground coffee still beats most automatic machines, because you control the water temperature and pour. But pre-ground stales within days of opening, and you cannot adjust the grind when the cup tastes off. It is a fine starting point; a grinder is the first upgrade.
Do I really need a gooseneck kettle?
For good pour-over, effectively yes. The controlled stream is the technique. A stovetop gooseneck costs about the same as a regular kettle, so there is no reason not to get one when you buy the dripper — it is the cheapest piece of the setup.
Why does my pour-over taste sour?
Sour means under-extracted: water too cool, grind too coarse, or pouring too fast. The most common beginner cause is water that cooled too much — if you are not measuring temperature, try pouring sooner after the boil and grinding a touch finer.
How is pour-over different from a drip machine, really?
Control. A drip machine decides temperature, distribution, and timing for you — and most cheap ones get all three wrong. Pour-over hands you every variable, which is more work and a dramatically better ceiling. If you enjoy the ritual, there is no going back.