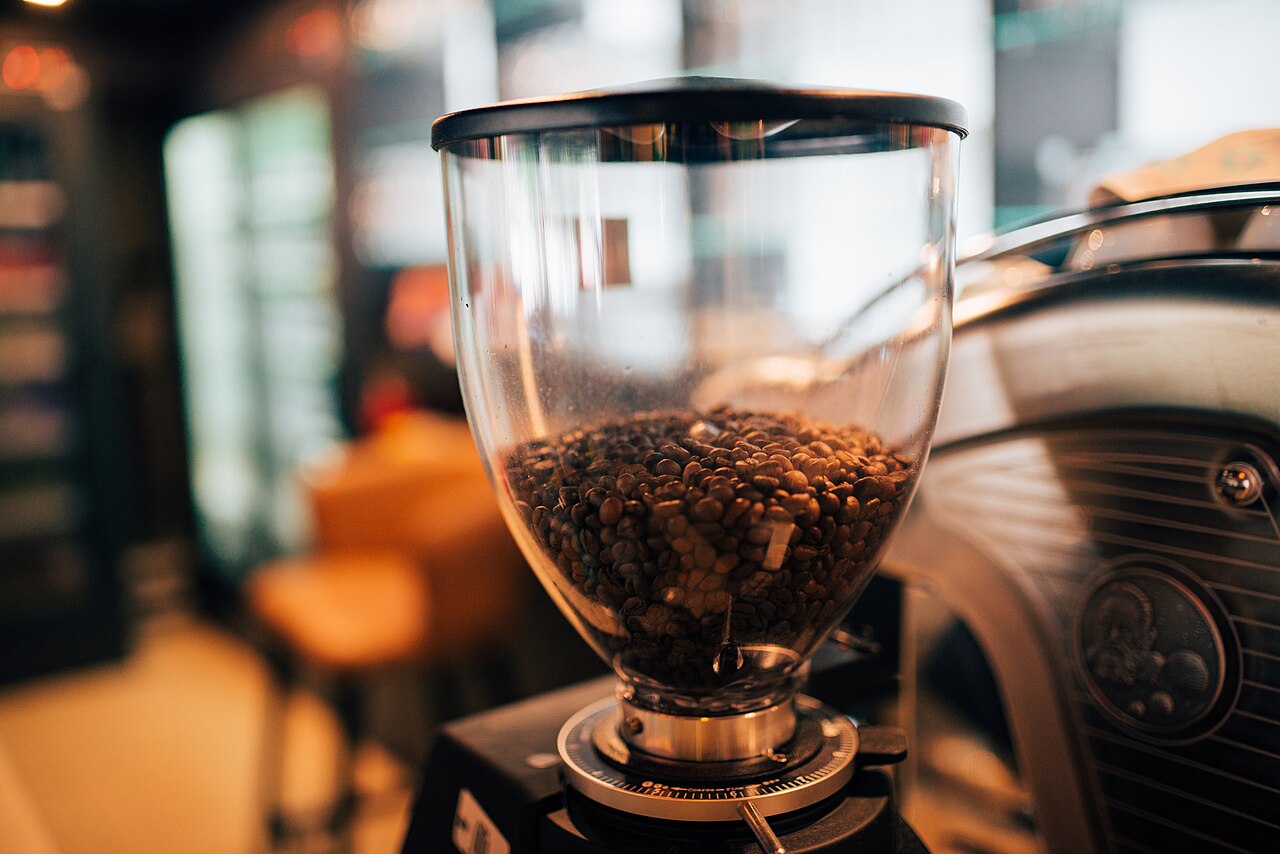
If you buy one piece of coffee gear this year, make it a burr grinder. Grinding fresh is the single biggest upgrade to home coffee — bigger than the brewer, bigger than the beans — because coffee starts losing aroma within minutes of grinding. This guide explains what actually matters in a beginner grinder: burr vs blade, which grind settings you need, and where the money goes.
Burr vs blade: the only decision that really matters
A blade grinder is a tiny food processor: a spinning blade chops beans into a mix of fine dust and coarse chunks. That uneven particle mix extracts unevenly — the dust over-extracts and tastes bitter while the chunks under-extract and taste sour — so the same cup is muddy and sharp at once. A burr grinder crushes beans between two abrasive surfaces set a fixed distance apart, producing far more uniform particles. Uniform particles extract evenly, and even extraction is what “clean” and “sweet” coffee actually means.
This is not snobbery; it is physics you can taste. Brew the same beans in a French press with a blade grinder and then with a burr grinder, and the difference is obvious on the first sip. If your budget forces a choice between a better brewer and a better grinder, choose the grinder every time. A $30 dripper with fresh burr-ground coffee beats a $300 machine fed pre-ground coffee.
Conical vs flat burrs (and why beginners should not overthink it)
Burrs come in two geometries. Conical burrs (one cone-shaped burr inside a ring) are the standard in most beginner and mid-range grinders: they are forgiving, produce a little more fines, and excel at the medium-to-coarse range used for pour-over and French press. Flat burrs (two parallel discs) tend to produce a more uniform particle distribution prized for espresso, but they cost more and demand more precise alignment.
For a first grinder, conical is the right answer. The differences between conical and flat only become the limiting factor once your palate and technique are already consistent — which takes most home brewers a year or more. Spend your attention on grind consistency and adjustment range instead of burr geometry.
Grind settings: buy for the brewing you will actually do
Grinders are described by how many grind steps they offer, but the number that matters is usable range. A grinder with 40 clearly separated steps covering Turkish-fine to French-press-coarse serves every brew method. A grinder with 200 steps crammed into the espresso range is useless for pour-over. Match the grinder to your brewing:
For pour-over and drip, you need reliable medium settings with small, repeatable steps — that is where most beginner grinders live comfortably. For French press, you need a genuinely coarse setting without excessive fines; cheap grinders often fail here, producing sludge at the bottom of the cup. For espresso, you need very fine, stepless or micro-stepped adjustment, and that is a different (pricier) category of grinder entirely. If espresso is in your future, read our espresso machines under $500 guide before buying a grinder, because the grinder matters more than the machine.
Hand grinders vs electric: the honest tradeoff
A good hand grinder delivers burr quality far above its price — the money goes into the burrs instead of a motor and housing. The tradeoff is labor: grinding 20 grams for pour-over takes about a minute of cranking; grinding for espresso takes longer and real effort. If you brew one or two cups a day and do not mind the ritual, a hand grinder is the best value in coffee gear.
Electric grinders win on convenience and volume. If you brew for a household, make espresso (which demands frequent small adjustments), or simply will not stick with a hand crank, electric is worth the premium. Either way, avoid the cheapest electrics with false burrs — discs that look like burrs but crush poorly — which perform barely better than blades.
What to skip
Skip any grinder marketed primarily on its number of settings rather than its burr quality — 40 bad steps are worse than 15 good ones. Skip built-in grinders on cheap espresso machines; they are the first component to underperform and cannot be upgraded separately. And skip the idea that you need to spend hundreds to taste a difference: the jump from blade to a decent burr grinder is the biggest improvement per dollar in all of coffee gear. Everything after that is diminishing returns.
What this guide does not cover
This is a beginner buying guide, not a grinder engineering reference. It does not cover commercial grinders, single-dosing workflows, burr alignment and shimming, or the flat-vs-conical debates that matter at competition level. It also does not recommend specific models — the market changes too fast for a static list, so use the buying logic here against current reviews. If you are opening a café, you need commercial equipment advice from a roaster or equipment dealer, not this guide.
Frequently asked questions
Can I just buy pre-ground coffee from a good roaster?
You can, and fresh-roasted pre-ground coffee beats stale whole beans. But even the best pre-ground coffee stales within days of opening, while whole beans hold for weeks. A grinder is what makes buying good beans worthwhile.
How do I clean a burr grinder?
Run a tablespoon of uncooked rice or purpose-made grinder cleaning pellets through it monthly, then brush out the burr chamber. Avoid water on the burrs — they can rust. Dark oily beans need more frequent cleaning than light roasts.
Is a hand grinder good enough for espresso?
A quality hand grinder with fine adjustment can grind for espresso, and many beginners start there. It is slow and laborious for daily espresso, though — most people upgrade to electric within a year if espresso becomes a habit.
How long should a beginner grinder last?
A decent burr grinder should last five-plus years of daily home use. The burrs themselves wear slowly at home volumes; motors and switches fail first on cheap electrics. That is another argument for buying the solid mid-range option once instead of the cheapest option twice.