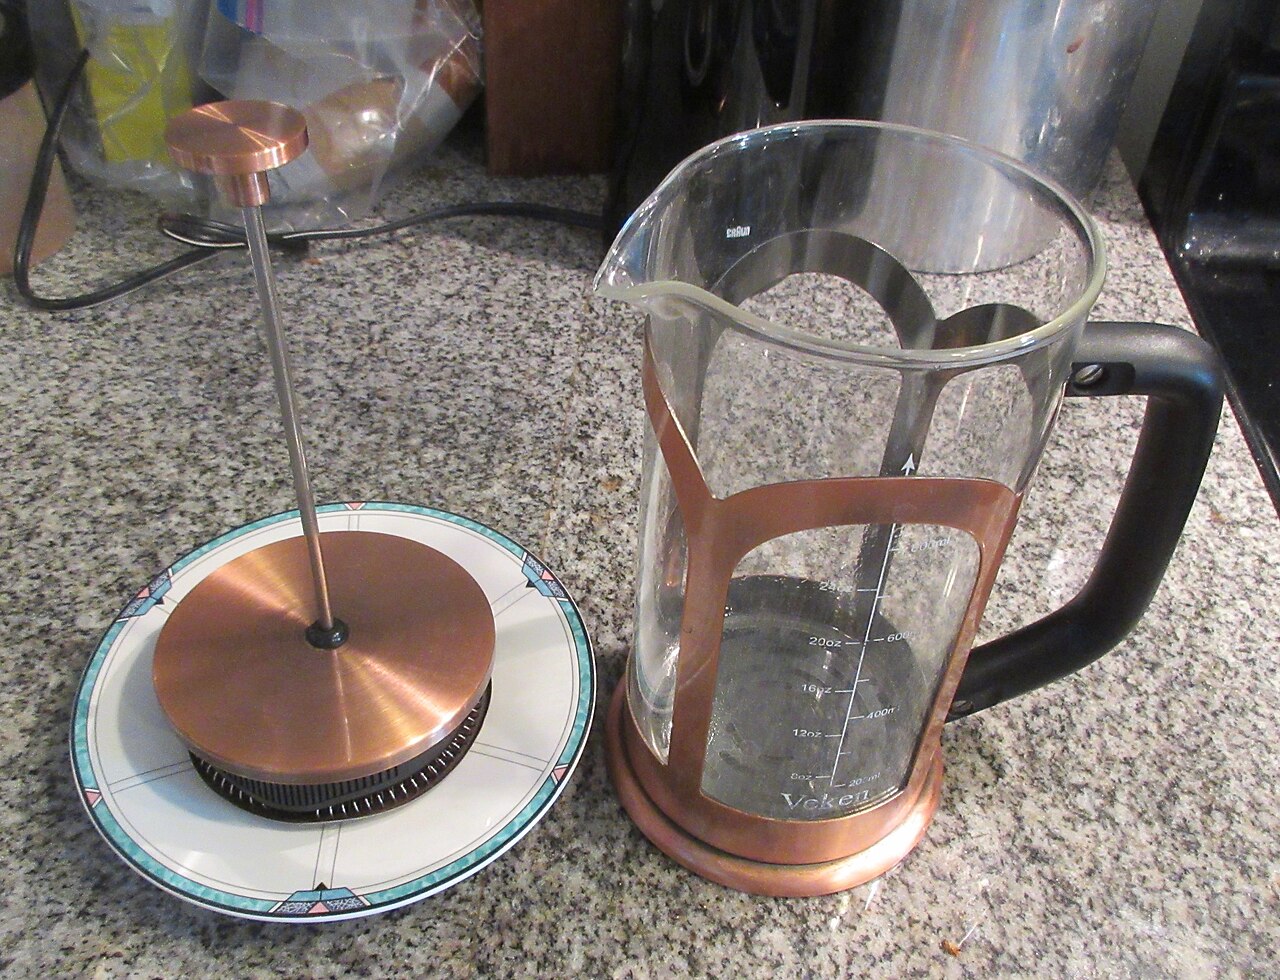
The French press is the most forgiving brewer ever made: coarse grounds, hot water, four minutes, plunge. No technique curve, no expensive gear, and a heavy-bodied cup that flatters almost any bean. But “forgiving” is not the same as “foolproof” — the material, the size, and a few small technique details separate a magnificent press pot from a muddy, bitter one. This guide covers what to buy and the handful of habits that make it sing.
Why the French press is the best beginner brewer
Full-immersion brewing is inherently even: the grounds sit in the water the whole time, so there is no pouring technique to learn and no channeling to worry about. A coarse grind is easy for even basic grinders to produce consistently, and the metal mesh filter lets the coffee’s natural oils through, giving a rich, heavy mouthfeel that paper-filter methods strip out. Compared with pour-over, the press asks almost nothing of you and still delivers a genuinely great cup.
It is also the cheapest complete brewer: a good press costs less than a bag of specialty beans and a week of café lattes. Paired with a decent burr grinder, it is the core of our under-$150 setup — the combination we recommend most to anyone starting out.
Glass vs. stainless steel vs. ceramic
Glass beakers are the classic: cheap, and you can watch the brew. The downsides are real — glass loses heat fast, which drops your brew temperature during the four-minute steep, and beakers break. A replacement beaker costs nearly as much as a whole new press, so a single drop often means buying twice.
Double-wall stainless steel is the practical winner for most people. It holds temperature far better through the steep, it survives drops and dishwashers, and it does not absorb odors. The only loss is the visual — you cannot watch the crust form — which is a small price for a hotter, more stable brew and a press that lasts a decade.
Ceramic and stoneware presses look beautiful and hold heat well, but they are heavy, chip-prone, and usually the most expensive option. Buy one because you love how it looks on the counter, not because it brews better — it does not.
Whatever the body, check the frame and lid construction: flimsy plastic lids crack, and a wobbly plunger rod makes the press feel cheap every single morning. Metal frames and lids age far better than plastic.
What size to buy (and the mistake everyone makes)
French press sizes are listed in ounces of water, but you lose roughly a third to grounds displacement and the sludge layer you leave behind. A “34 oz” press — the standard size — realistically yields two generous mugs, not four. The common mistake is buying the big 51 oz press “for guests” and then brewing small amounts in it daily; a shallow bed in an oversized press cools fast and brews unevenly.
Buy for your daily routine: the 12–17 oz size for one mug, the 34 oz for two. If you regularly brew for a crowd, a second press is better than one giant one — and at these prices, that is not extravagant advice.
Filter quality: the mesh matters more than the brand
The mesh screen is the entire filtration system, and cheap screens are the reason French press has a reputation for sludge. Look for a fine, multi-layer mesh with a tight fit against the beaker wall — grounds sneaking around the edges end up in your cup. Better presses use a spring-loaded rim that seals against the glass or steel; budget ones leave a gap you can see light through.
Screens wear out: the mesh stretches, the layers separate, and sediment increases year by year. Replacement screen sets cost a few dollars and take two minutes to swap — replacing the screen every year or two keeps an old press brewing like new. If a press’s manufacturer does not sell replacement screens, that is a quiet signal about how long they expect it to last.
The technique that actually matters
Here is the routine that takes a press from good to excellent. Use a 1:14 to 1:15 ratio — slightly stronger than drip, since immersion is gentle — which works out to about 30g of coffee to 450g of water for a 34 oz press. Weighing with a scale is worth it: volumetric scoops vary wildly with roast level. Grind coarse, like breadcrumbs — too fine and you get bitterness and a sludge swamp; too coarse and the cup goes hollow.
Heat water to just off boil, around 200–205°F. Add the grounds, pour about twice their weight in water, stir gently, and let it bloom for 30 seconds. Then pour the rest, place the lid on top without plunging, and wait four minutes. Here is the step most people skip: break the crust with a spoon, skim off the foam and floating bits, then let it sit another few minutes so the fine sediment settles. Plunge slowly — just to the surface, not ramming to the bottom — and decant immediately. Coffee left sitting on the grounds keeps extracting and turns bitter within minutes.
That skim-and-wait refinement, borrowed from cupping technique, is the single biggest upgrade to press coffee most people will ever make. It costs nothing and removes most of the muddiness people blame on the brewer.
The traps that ruin press coffee
The number-one trap is leaving brewed coffee in the press — “it stays warm in there.” It does, and it also keeps brewing into an over-extracted, bitter mess. Decant into mugs or a thermal carafe the moment you plunge. The second trap is grinding too fine, usually from using the same setting as a drip machine; press grind should be visibly coarse. The third trap is the dishwasher for glass models: thermal shock and rattling shorten a beaker’s life dramatically. Hand-wash the beaker; the steel parts can take the machine.
The subtler trap is stale beans. Immersion brewing is forgiving of technique but not of age — coffee more than a month off roast tastes flat no matter how perfect your routine. Our storage guide covers keeping beans alive longer.
Cleaning: the unglamorous part that matters
Coffee oils go rancid, and a press that never gets fully cleaned starts tasting stale regardless of the beans. Daily: knock out the grounds (compost them — they are excellent for gardens), rinse, and wash with hot soapy water, getting under the screen assembly where sludge hides. Weekly or so, disassemble the plunger — unscrew the screen stack — and scrub each layer; you will be surprised what lives between them. A monthly soak of all parts in hot water with a spoonful of espresso machine cleaner or baking soda strips the invisible oil film that dulls flavor.
What this guide does not cover
This covers press-pot immersion brewing at home — not the AeroPress (a different device with paper filtration and pressure), not cold brew in a press (see our cold brew guide), and not travel presses, which trade brew quality for portability. It also does not cover espresso-strength “press hacks” — a French press cannot make espresso, and no ratio trick changes the physics.
Frequently asked questions
How much coffee do I use in a French press?
Start at a 1:15 ratio — 1 gram of coffee per 15 grams of water. For a 34 oz press that is about 60g of coffee to 900g of water for a full pot, or halve it for a single large mug. Adjust stronger or weaker to taste from there.
Why is my French press coffee so muddy?
Usually a combination of too-fine grind, a worn or loose mesh screen, and skipping the skim-and-settle step. Go coarser, check the screen’s edge seal, and try breaking the crust and waiting a few minutes before plunging.
Can I make cold brew in a French press?
Yes — coarse grounds plus cold water, steep 12–16 hours in the fridge, then plunge. It works, though dedicated cold brew makers with finer filtration produce a cleaner concentrate with less sediment.
Glass or stainless steel French press?
Stainless for daily use: better heat retention, far more durable, and no flavor difference once you account for the hotter, more stable brew. Glass only if you specifically want to watch the brewing happen or need the absolute lowest price.
How long should French press coffee steep?
Four minutes is the standard starting point at a coarse grind, followed by the skim-and-settle rest described above. Shorter steeps taste thin and underdeveloped; much longer than five minutes pushes into bitterness, especially with darker roasts. Treat four minutes as home base and adjust by taste, not by the clock alone.