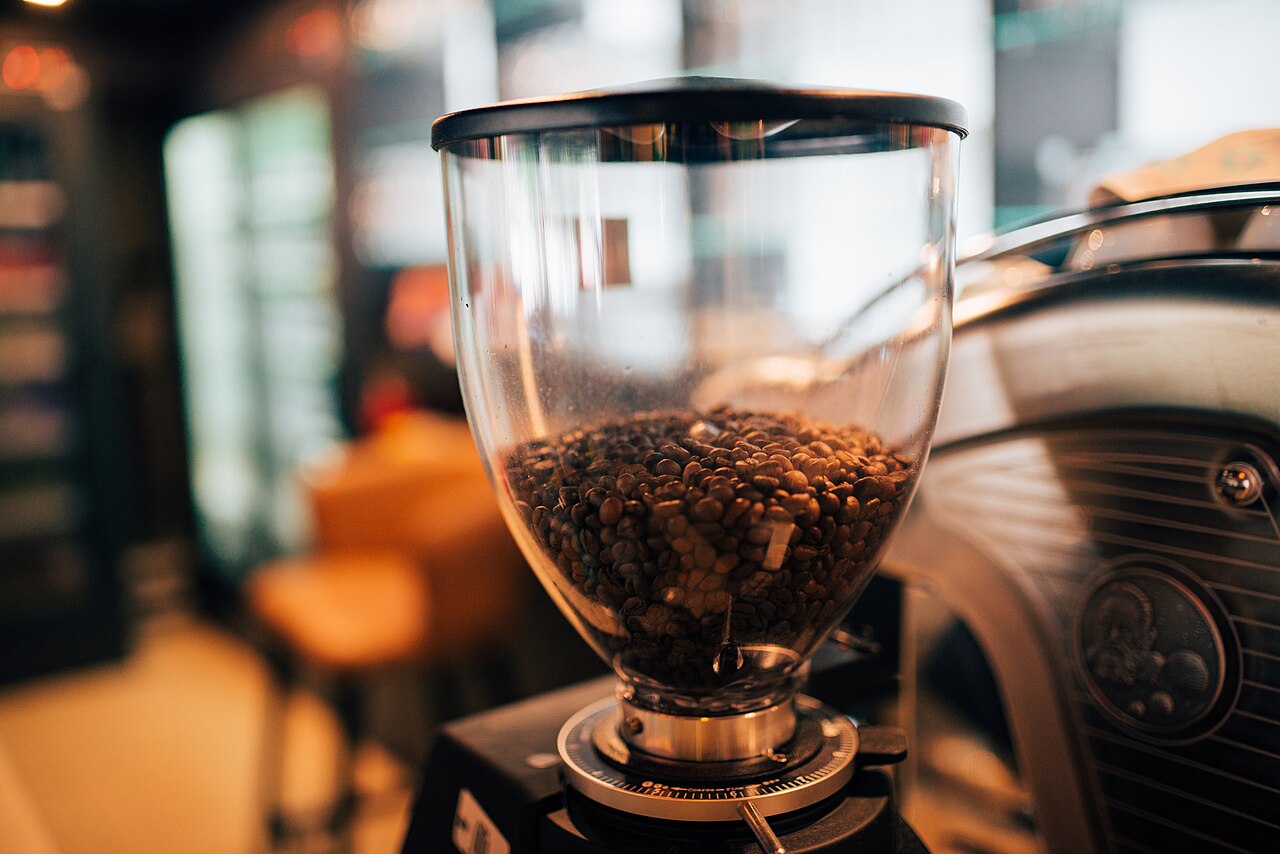
Ask experienced espresso makers where the money goes and most will tell you the same thing: the grinder matters more than the machine. Espresso is uniquely demanding — a 25–30 second extraction through a compacted puck of finely ground coffee leaves no room for inconsistency, and tiny grind changes swing a shot from sour to sweet to bitter. A grinder that cannot adjust finely enough, or that sprays yesterday’s stale grounds into today’s dose, will defeat a $1,000 machine. This guide explains what makes an espresso grinder different, the designs worth buying, and the traps that waste beginners’ money.
Why espresso needs its own grinder
Brew methods like drip and French press are forgiving: the grind window is wide, and being slightly off still makes drinkable coffee. Espresso’s window is brutally narrow. Moving the grind a fraction finer can add five seconds to a shot and flip it from sour to balanced; a fraction coarser and it gushes through in fifteen seconds, thin and sharp. A general-purpose beginner burr grinder typically adjusts in steps too coarse for this — one click is sour, the next is choked — with no usable setting between. That is not a technique problem. It is an equipment problem, and the fix is a grinder designed for espresso’s fine adjustment range.
The second difference is consistency at fine settings. Grinding fine generates more heat and more static, and cheap burr sets produce a wider spread of particle sizes exactly where espresso needs uniformity. Fines over-extract into bitterness while the larger particles under-extract into sourness — the dreaded “sour and bitter at once” shot that beginners blame on everything except the grinder.
Stepped vs. stepless adjustment
Stepped grinders click between fixed settings. This is fine for brew methods and convenient for switching between them, but for espresso the steps are often too far apart — the perfect setting lives between two clicks. Some stepped grinders offer very fine steps that work for espresso; most do not.
Stepless grinders adjust continuously, usually with a collar or dial you rotate smoothly. There are no clicks and no gaps: you can dial in exactly where the shot tastes best. This is the standard for espresso, and it is the single feature that most separates espresso-capable grinders from brew grinders. The trade-off is convenience — switching from espresso to French press and back means re-finding your setting, which is why many espresso drinkers eventually dedicate one grinder to espresso and keep a second for everything else.
Conical vs. flat burrs for espresso
Both burr geometries make excellent espresso; they just taste slightly different. Conical burrs tend to produce a bimodal particle distribution — a mix of fines and larger particles — which yields a heavier-bodied, more forgiving shot with rich texture. They run at lower RPM, generate less heat, and are common in the entry-level espresso grinder range. Flat burrs produce a tighter, more uniform distribution, giving a cleaner, more articulate shot that shows off bean character — at the cost of being less forgiving of imperfect technique.
For beginners, the practical advice is simple: do not choose based on burr geometry. Choose based on adjustment fineness, build quality, and retention (below). Either geometry in a well-made grinder will make better espresso than you can currently taste the difference in. Geometry becomes a meaningful choice at your second grinder, not your first.
Retention: the stale-grounds problem
Retention is the ground coffee that stays trapped inside the grinder — in the chute, around the burrs, in the corners — after each dose. Cheap grinders can retain several grams: your 18g dose might contain 3g of yesterday’s stale grounds. For brew methods this barely registers; for espresso it muddies every shot. Low-retention designs — short, steep grounds paths, bellows or knockers to clear the chute — are a hallmark of grinders designed with espresso in mind.
Single-dosing is the workflow built around this: you weigh exactly the beans you need (a 0.1g scale is essential here), drop them in the empty hopper, and grind everything through. No beans sit in a hopper going stale, and you can switch beans between shots. It is the standard workflow for home espresso enthusiasts, and a grinder that single-doses well — low retention, easy to clear — is worth prioritizing even if you start with a hopper.
Hand grinders vs. electric for espresso
This is the budget question, and the answer surprises people: a good hand grinder in the $100–200 range will out-grind many $300 electric grinders for espresso. Hand grinders put the money into the burr set and the adjustment mechanism instead of a motor, and several are genuinely espresso-capable with stepless or micro-stepped adjustment. The cost is your arm — grinding 18g fine for espresso takes 30–60 seconds of real effort, twice a day, forever. Plenty of people love the ritual; plenty burn out in a month.
Electric grinders cost more for equivalent grind quality but remove the labor entirely, which is what keeps the habit alive on busy mornings. If you make milk drinks for two every day, electric is the sane choice. If you pull one careful shot on weekend mornings, a hand grinder is the value king. Either way, verify espresso-capable adjustment before buying — many excellent brew hand grinders cannot go fine enough, or adjust too coarsely, for espresso.
How much grinder does your machine deserve?
The old rule of thumb — spend as much on the grinder as the machine, or more — survives because it keeps being true. A $300 entry espresso machine paired with a $200–300 espresso-capable grinder will make better shots than a $700 machine paired with a $100 grinder. The machine controls temperature and pressure; the grinder controls the extraction itself. If your budget forces a choice, the grinder wins every time.
That said, match the tier sensibly. A $600 single-dose flat-burr grinder in front of a basic pressurized-basket machine is wasted money — the pressurized basket cannot transmit the grind quality. Upgrade path order for most beginners: capable grinder first, then non-pressurized baskets (usually free, included in the box), then a better machine only when technique consistently exceeds the equipment.
The traps that waste espresso beginners’ money
The most expensive trap is the machine-first purchase: buying the espresso machine, then “making do” with a brew grinder or pre-ground coffee, then concluding espresso at home is impossible. It is not — the grinder was the missing piece. The second trap is the built-in grinder on all-in-one machines: at consumer prices the integrated grinder is always stepped too coarsely for real dialing-in, and you cannot upgrade it without replacing the whole machine.
The third trap is upgrading the machine to fix a grinder problem. Sour, fast shots on a $300 machine are a grind problem roughly nine times out of ten; a $700 machine with the same grinder makes the same sour shots, just with nicer steam. The fourth trap is ignoring retention and staleness: an expensive grinder full of week-old retained grounds makes worse coffee than a mid-range grinder that is purged and single-dosed. Fresh beans — see our storage guide — and a clean grinder beat burr geometry every time.
Dialing in: the skill the grinder enables
Here is the routine your new grinder makes possible. Dose 18g of fresh beans, ground to a starting point that looks like fine table salt. Pull the shot aiming for roughly 36g of espresso in 25–30 seconds. Too fast and sour? Grind finer. Too slow, choked, or bitter? Grind coarser. Change one variable at a time and only the grind — keep dose and yield fixed while learning. Within a week of daily shots you will be tasting the difference a quarter-turn of the collar makes, and that sensitivity is the entire hobby. A scale under the cup turns guesswork into data.
What this guide does not cover
This covers grinders for home pump espresso — not commercial grinders, not the integrated grinders in super-automatic machines, and not Turkish-coffee-fine grinding, which is a different requirement. It does not cover burr alignment, aftermarket burr swaps, or motor modifications. For general brew grinding, see our beginner burr grinder guide.
Frequently asked questions
Can I use my regular burr grinder for espresso?
Usually not well. Most brew grinders adjust in steps too coarse for espresso’s narrow window — one click chokes, the next gushes. A few brew grinders have fine-enough steps to work; check reviews specifically mentioning espresso dialing-in before assuming.
How much should I spend on an espresso grinder?
Plan on roughly matching your machine’s price: $150–300 for a hand grinder or entry electric alongside a sub-$500 machine. Spending more on the grinder than the machine is normal and sensible in espresso — the grinder determines extraction quality.
Conical or flat burrs for espresso?
Either works well. Conical burrs give a heavier, more forgiving shot; flat burrs give a cleaner, more articulate one. At the beginner level, adjustment fineness and low retention matter far more than burr geometry.
Why do my shots taste sour even with a good grinder?
Sourness is under-extraction: grind finer first. Also check bean freshness (stale beans taste sour and hollow no matter what), dose consistency with a scale, and brew temperature — a machine that has not fully heated up pulls sour shots regardless of grind.